Nowadays, having your own website is very useful. It helps you create an online identity, display your work, or share your ideas with people around the world. However, making a website can seem difficult, especially if you don’t have much money. Don’t worry! In this guide, I’ll show you how to build a professional website for free using GitHub and Hugo.
What is GitHub and Hugo? GitHub is a popular platform for hosting and sharing code repositories. It’s widely used by developers for version control and collaboration on projects. Hugo, on the other hand, is a fast and flexible static site generator written in Go. It allows you to create websites with lightning-fast load times and easy maintenance.
Step 1: Setting Up Your GitHub Account - First, create a GitHub account if you don’t have one already. Go to github.com and sign up for a free account. After you log in, you can make a new repository to store your website files.
Step 2: Create the Website Repository - Once you have created your github account now you need to create a new public repository to upload the hugo public folder (More details about this folder contents in step 8 ). You need to make sure the repo name is your username.github.io For example akamalsha.github.io
Step 3: Creating Your Website on your laptop - There are various ways to install hugo on your laptop I personnaly use a mac to build my site and the commands to install hugo is:
brew install hugo
Once you have installed hugo, you can create a new Hugo site with a single command. Open your terminal or command prompt and run the following:
hugo new site my-website
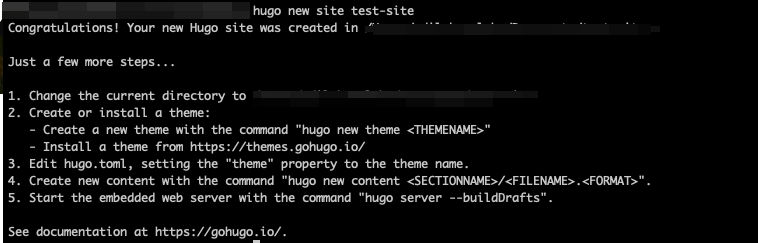
This will create a new directory called my-website containing all the files you need to build your website.
Step 4: Setting up git - Now you need to setup git in your local directory where the site is hosted. Commands to setup git locally are:
git remote add origin https://github.com/akamalsha/akamalsha.github.io.git
Step 5: Choosing a Theme - Hugo comes with a variety of built-in themes that you can use to customize the look and feel of your website. You can browse the available themes on the official Hugo website and choose one that suits your style. I personally use PaperMod as my hugo theme. You can add it to your site using the following command from the root directory:
git submodule add --depth=1 https://github.com/adityatelange/hugo-PaperMod.git themes/PaperMod
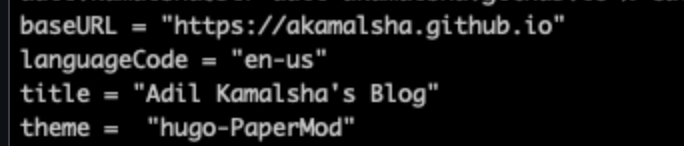
Step 6: Customizing Your Website - In the main folder of your website project, you need to modify the hugo.toml file. In this file, you need to change the baseURL setting to point to your GitHub repository’s address.
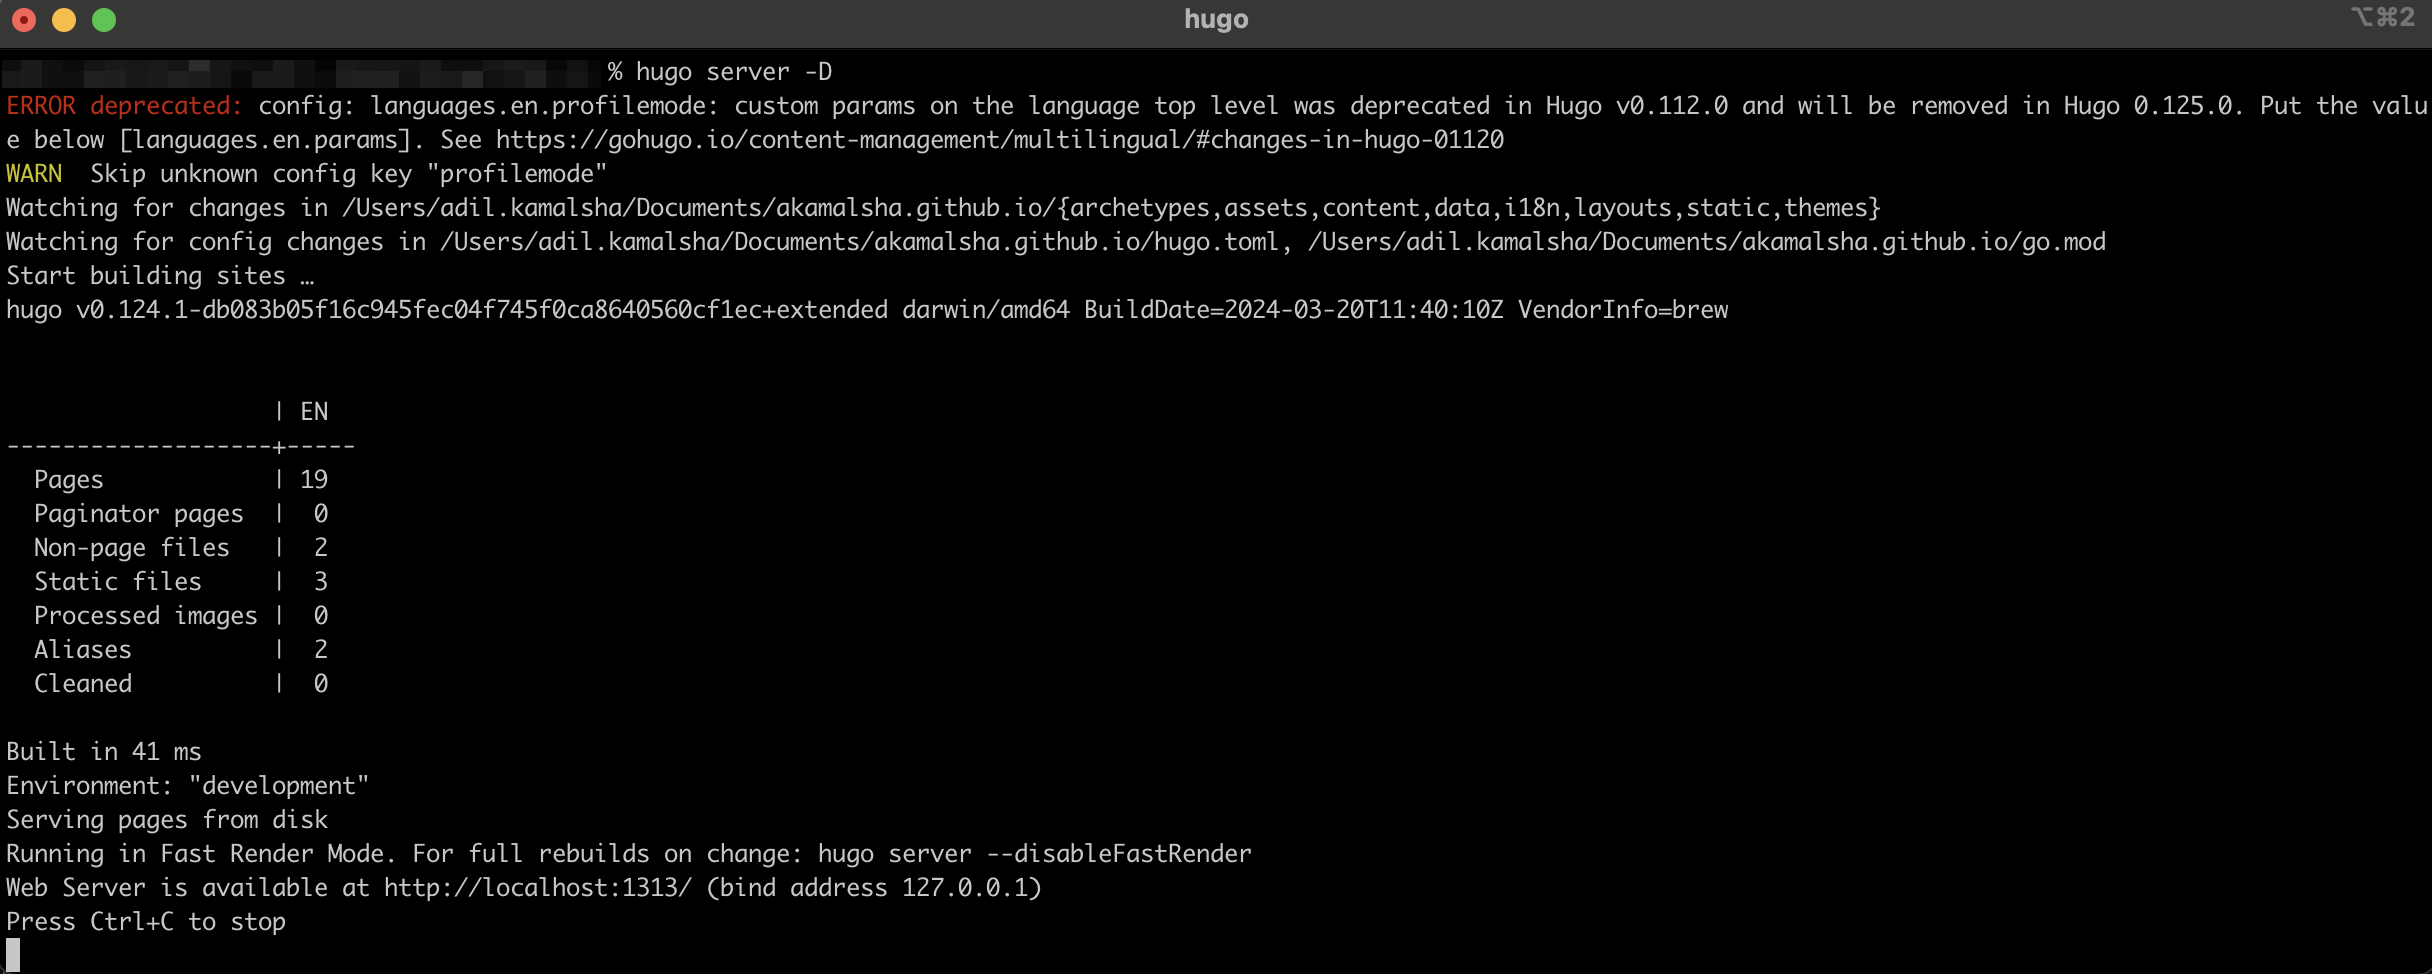
Step 7: Previewing Your Site As you make changes to your website, you’ll want to preview them locally before deploying them to GitHub. Fortunately, Hugo makes this easy with its built-in development server. Simply run the following command in your terminal:
hugo server -D
After running this, you will see information about the website build and the local web server address that you can use to view your website on your computer.

Step 8: Deploying your site to Github - Once you’re happy with how your website looks, it’s time to deploy it to GitHub.
Go to your public direcotory from the main root hugo website directory
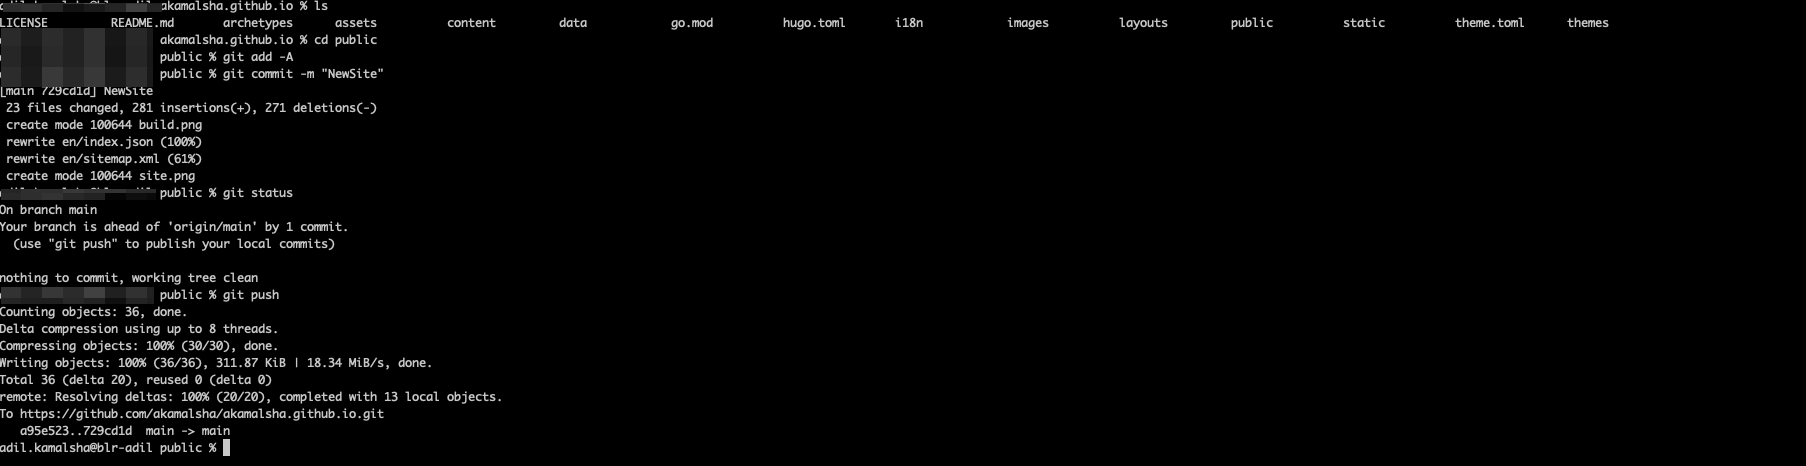
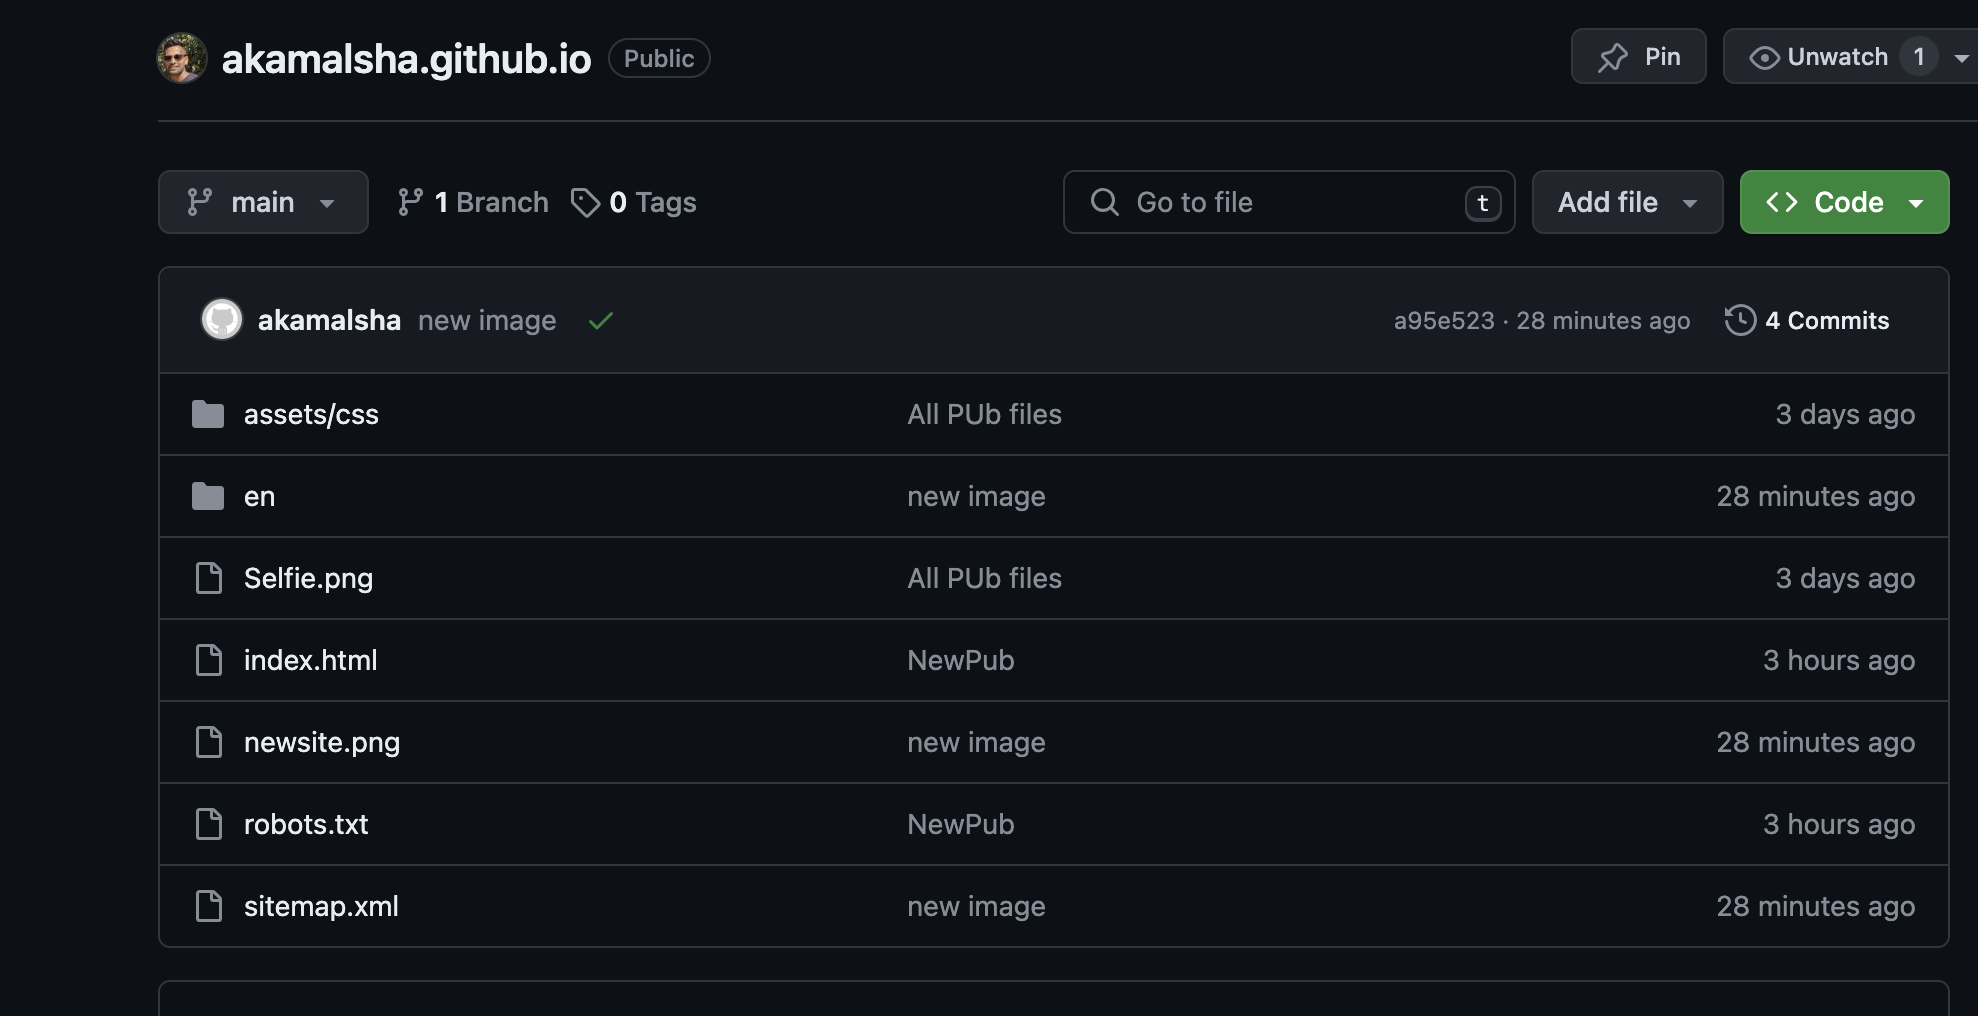
Step 9: Verify that the public folder contents are uploaded to your github repo
Step 10: Build your static WebSite using github pages - From your github repository go to settings and then in the code and automation select Pages. Change the source to main branch and save
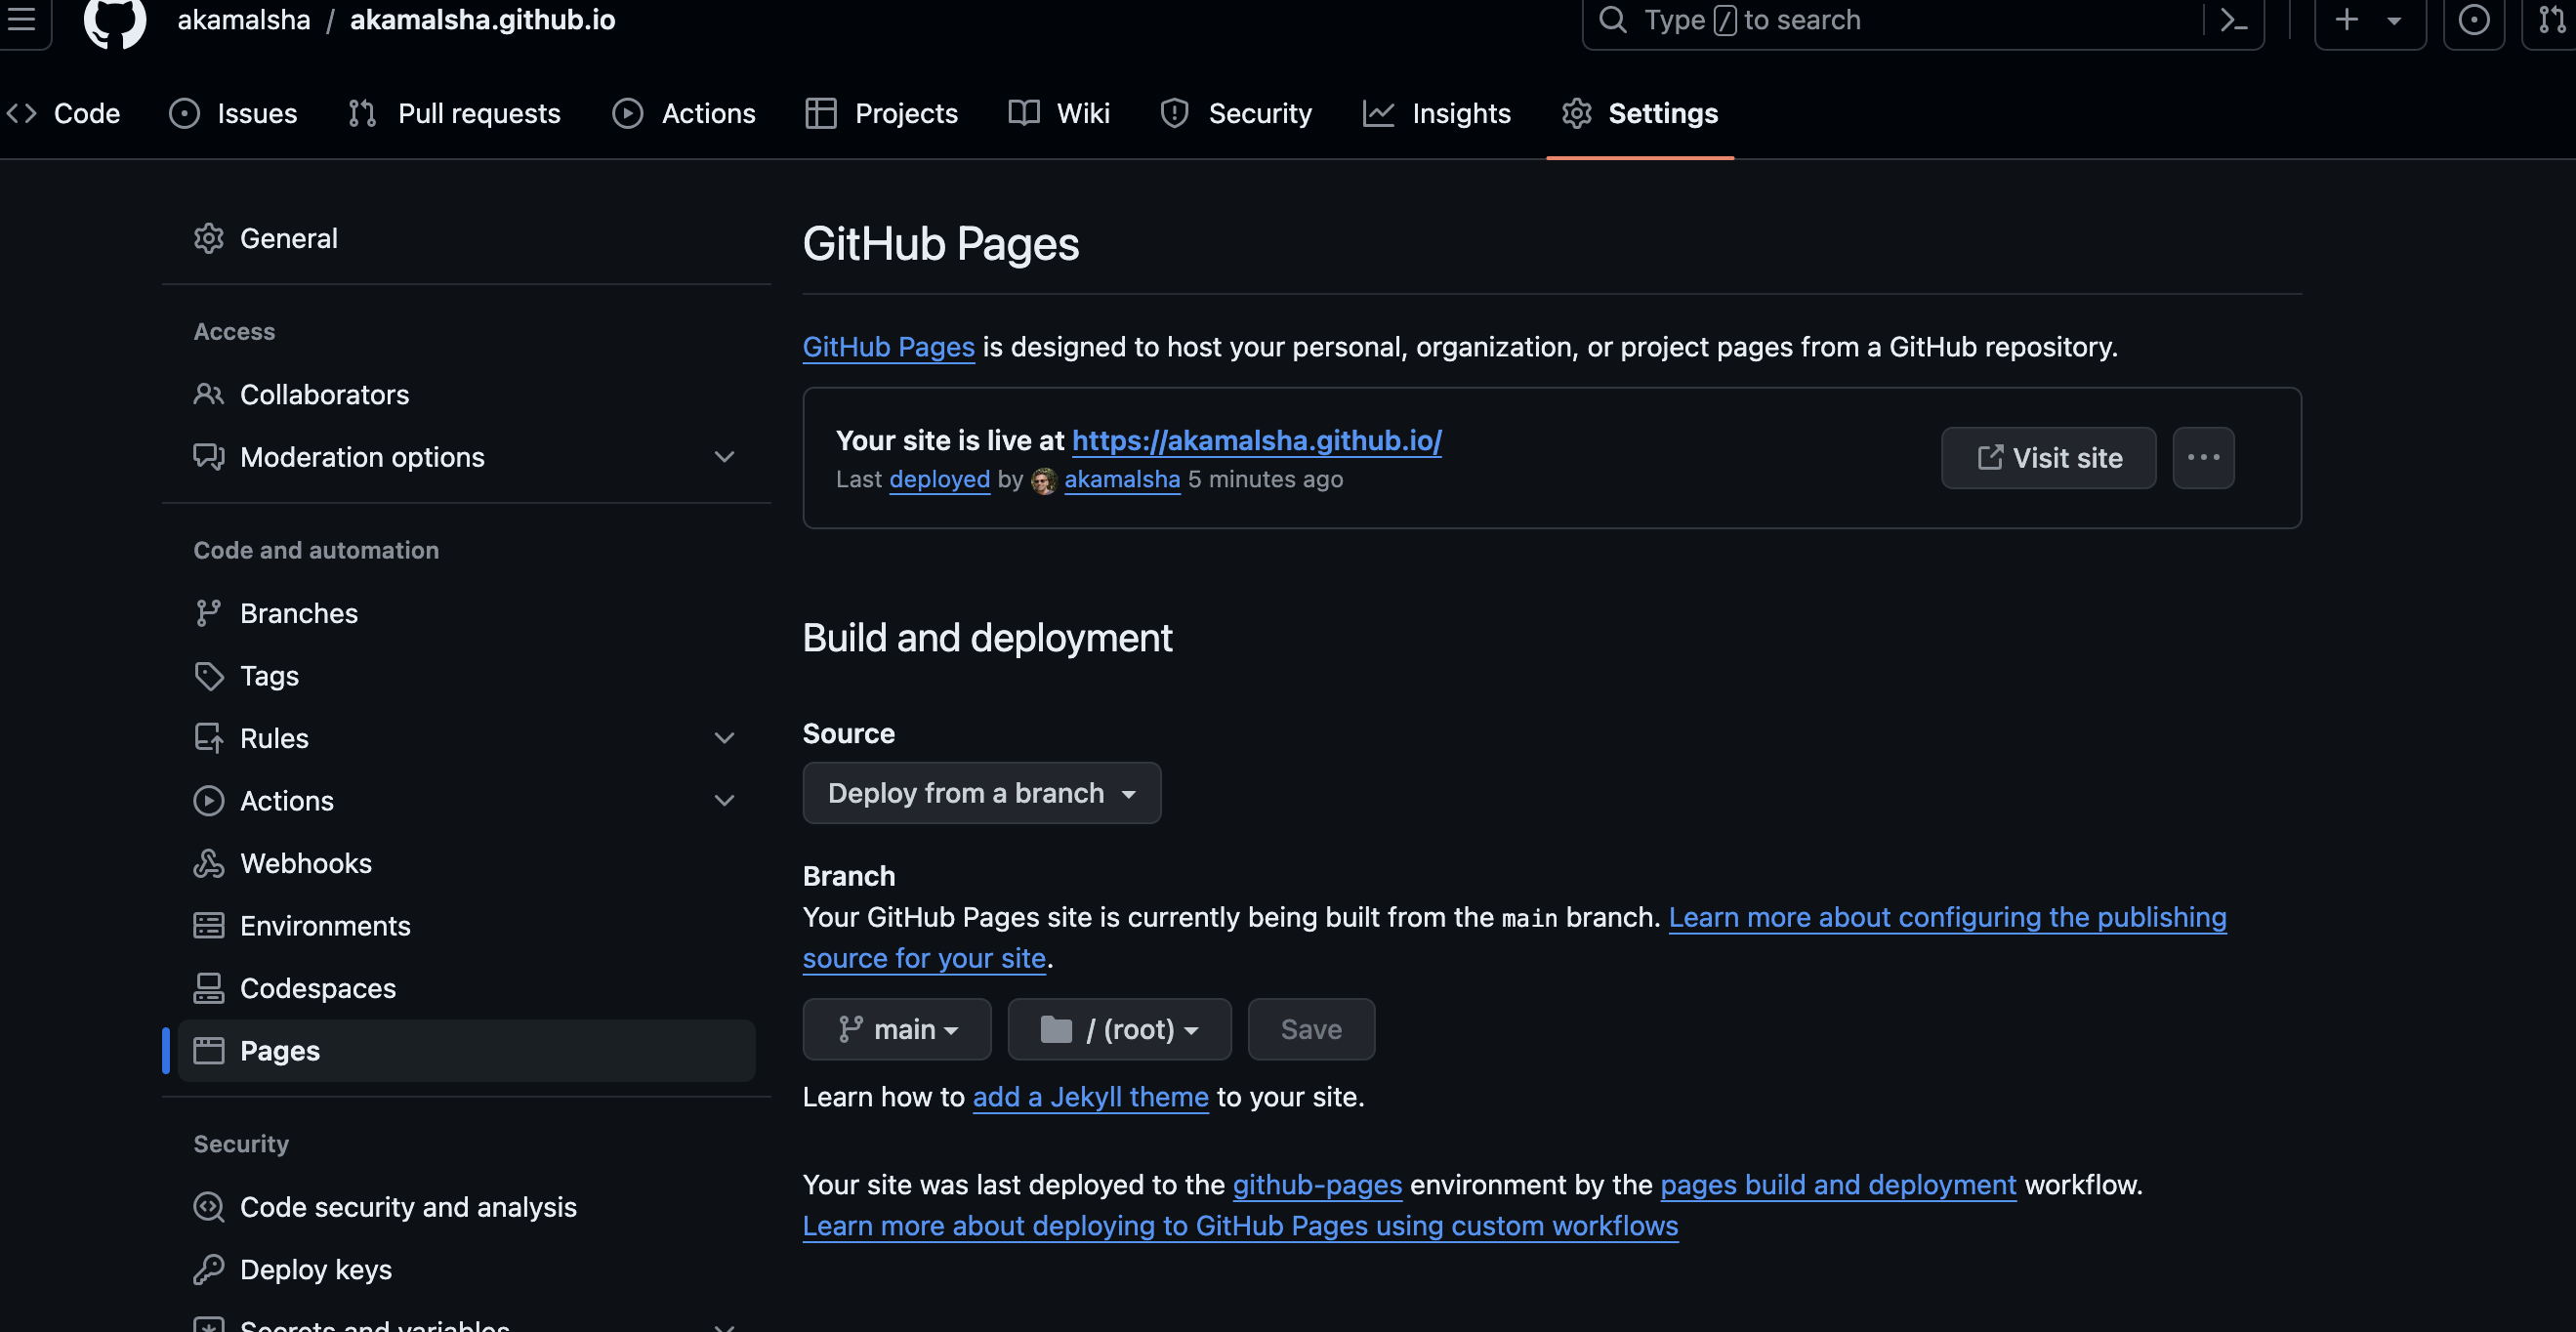
Once the process of setting up GitHub Pages and the deployment workflow is finished, you should be able to access your new website.